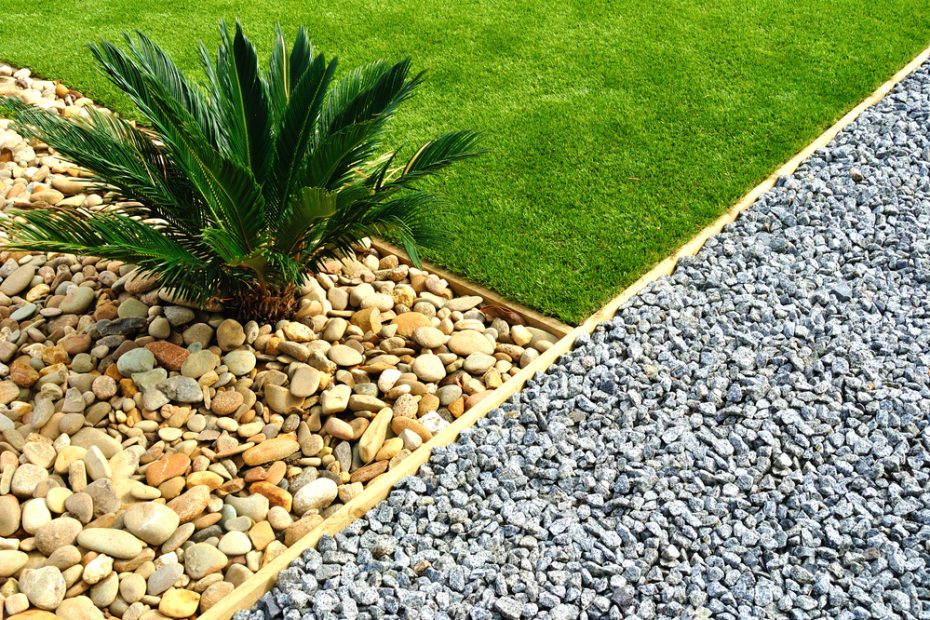
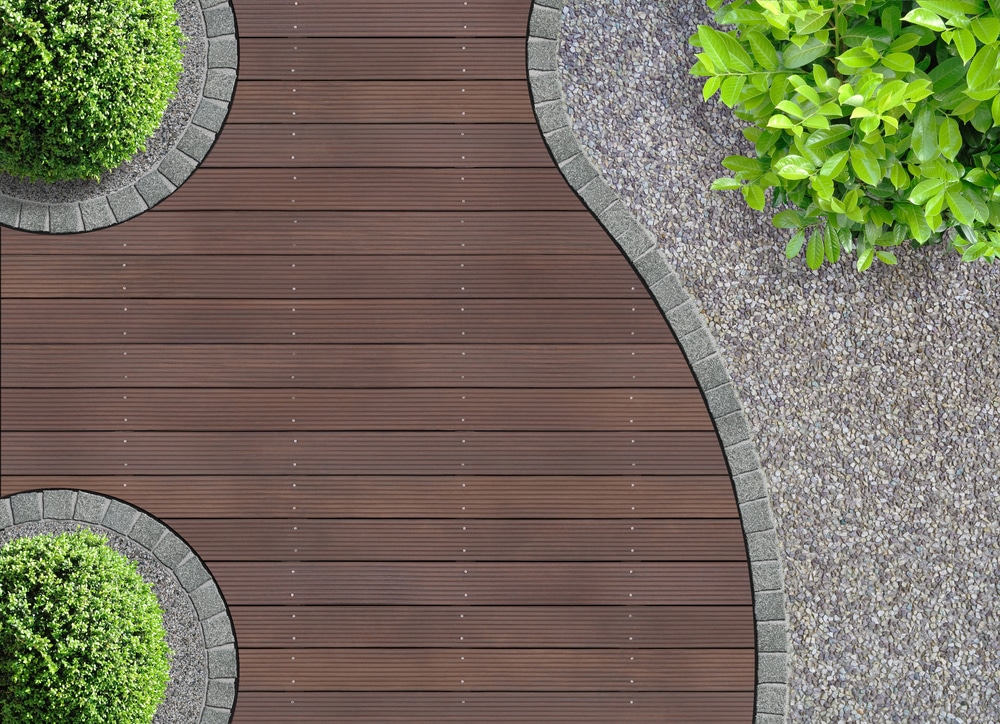
Gravel is an excellent choice to improve the look of your garden without too much cost or hassle. A gravel garden is low maintenance, easy to install and can really help your garden to stand out.
Uses for gravel in gardens
- Mulch around plants
- Patios
- Driveways
- Decorative borders & edges
- and more…
What to expect from a gravel garden?
- Easy to add style to your garden
- Low cost compared to solid surfaces like pavers
- Helps retain water for plants
- Blends in well
Designing a gravel garden
You don’t need to be an experienced landscaper to create a gravel garden, as we’ll prove in this guide:
Choosing the location for your gravel
Consider where you want to use the gravel. If you want to plant plants between the gravel then you may consider a spot that gets more sun. You can mark out and shape the area you want to add it, visually. Curve and fluid shapes tend to look best. If you want to you can mark out the area with rope or a thin layer of light paint to help visualize it.
Choosing a gravel color
There are a range of gravel colors you can choose from. As a general rule:
- Lighter gravel – Complements white-colored brick and stone well
- Darker gravel and greys – Complement blacks and browns well.
A good rule of thumb is to not clash your gravel color with the color of your house. Try to look for complementary colors and shades.
Consider a border
A border can really help to finish off the area. It also helps to keep the travel in place. It’s good to ensure the border will be tall enough to fit in the excavated area and have clearance above the gravel. As a general rule you want to dig out a trench around 4-6inches deep, you also want a layer of at least 1 inch of gravel so consider how high your border needs to be based on this.
You can border the area with treated wood, decking, metal or pavers.
A natural alternative is to position rockery around the perimeter.
Calculate how much you will need
Use our gravel calculator to estimate how much gravel you will need for a rectangular or circular area. You’ll need to get some measurements first.
aesthetic garden design detail seen from above
Laying the Gravel
Once you’re happy with the color, layout and have your gravel ready to install you can start laying it.
Preparing the area(s)
Prepare the area(s) by marking it out with rope / paint and start digging out 4-6 inches of topsoil using a spade. Remove any roots, plants, shrubs and weeds.
Install your border (if using).
If you are using the gravel area as a walkway, patio, driver or seating area then you should lay a 10cm (4 inch) foundation of hardcore under the gravel to add stability.
If the area has poor drainage consider spreading a layer of good quality compost, ensuring smooth and even coverage. You’ll want to lay out a permeable weed-resistant mesh to stop weeds from uprooting through the gravel.
Spread out the gravel
Use a shovel to lay the gravel out in the area you have marked. Get a rake and smooth out an even layer so that you have at least 3cm or just under an inch coverage.
Plant plants/shrubs (if using)
You can now plant your plants between the gravel. Remember to leave adequate space for them to spread out when they grow.
There you have it! Easy enough. It doesn’t take much to install a gravel garden. Maintaining it is pretty easy too. If you’d like advice about purchasing the right type of gravel in Connecticut speak to Skyline Quarry located in Stafford, CT.


